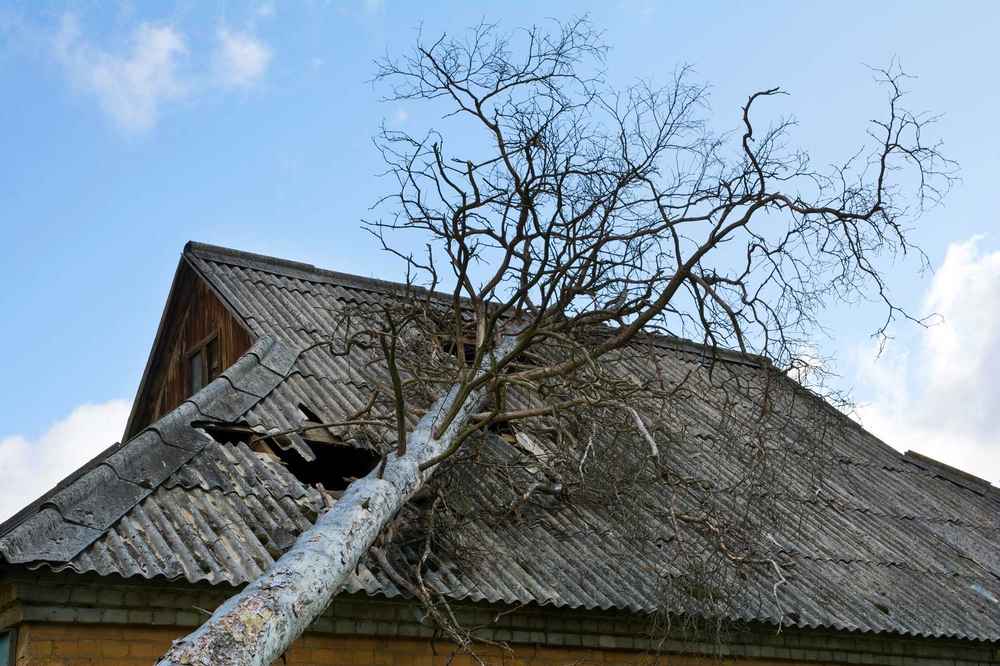
A tree falling on your roof is one of the most stressful situations a homeowner can face. Whether caused by a severe storm, high winds, or a weakened tree, this type of damage can lead to serious structural problems, leaks, and safety hazards. Knowing what to do when a tree falls on your roof can help you act quickly to protect your home and minimize further damage.
In this guide, we’ll walk you through the necessary steps, including safety precautions, how to document the damage for insurance, and the repair process.
Step 1: Ensure Everyone’s Safety
The first priority is making sure you and your family are safe. A fallen tree can cause severe structural damage, leading to potential roof collapse, exposed electrical wiring, or gas leaks.
What to Do Immediately:
✔ Evacuate if Necessary – If the impact is severe and you notice cracks in walls, ceilings, or floors, leave the house immediately.
✔ Check for Injuries – Ensure that everyone, including pets, is unharmed. Call emergency services if needed.
✔ Turn Off Utilities – If you suspect gas leaks or electrical damage, shut off your gas and electricity at the main breaker.
For guidance on emergency preparedness, visit the Federal Emergency Management Agency (FEMA).
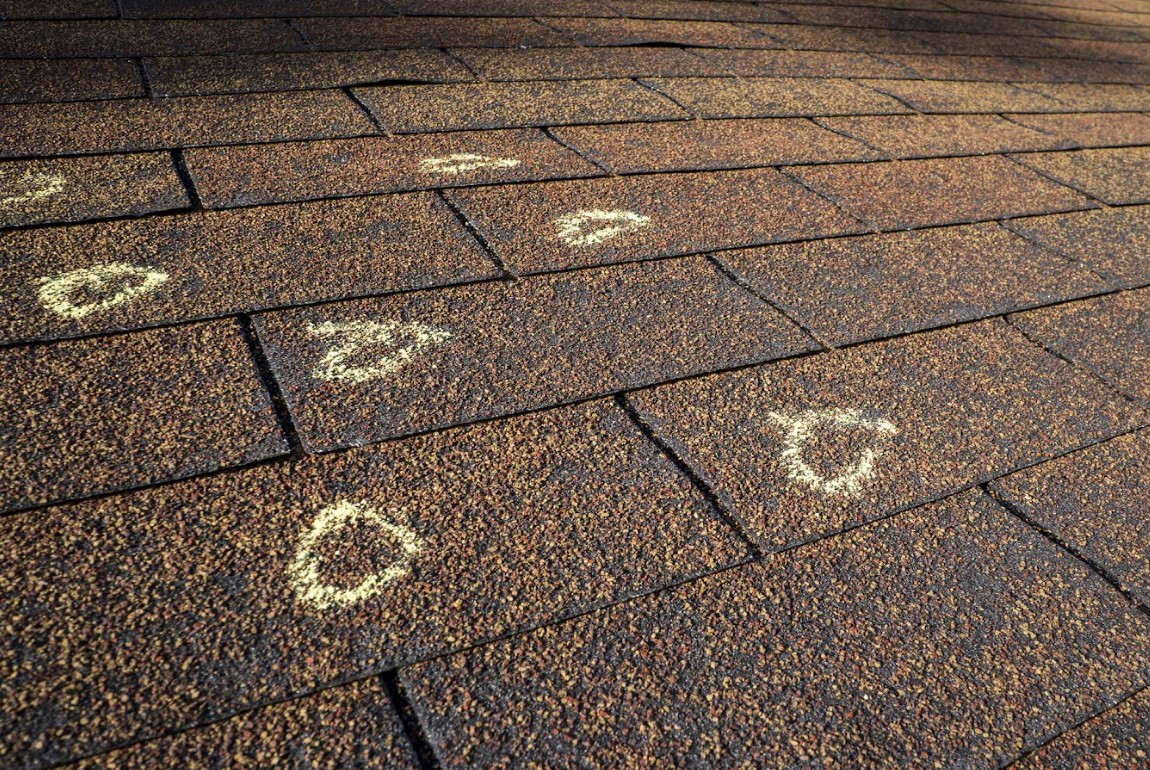
Step 2: Assess the Damage from a Safe Distance
Once it’s safe, inspect the damage from outside. Avoid climbing on the roof, as weakened structures could collapse.
Signs of Severe Damage:
- Visible Holes or Structural Collapse – If the roof has caved in or there is a hole, immediate repairs are needed.
- Water Leaks Inside the Home – A fallen tree can puncture the roof, allowing rainwater inside.
- Broken Windows or Siding Damage – Check if branches have hit other areas of your home.
Take photos and videos from multiple angles to document the damage. These will be useful for insurance claims and working with a roofing contractor.
Step 3: Contact Your Insurance Company
Homeowners’ insurance typically covers damage from fallen trees caused by storms, but coverage varies.
How to File an Insurance Claim:
- Call Your Insurance Provider – Report the damage as soon as possible to start the claims process.
- Provide Documentation – Submit photos, videos, and a written description of the incident.
- Schedule an Inspection – Your insurance company may send an adjuster to assess the damage.
Understanding insurance policies can be confusing. The National Association of Insurance Commissioners (NAIC) provides resources on filing claims and understanding coverage.
Step 4: Prevent Further Damage
While waiting for professional repairs, take temporary steps to prevent additional harm to your home.
Temporary Fixes You Can Do:
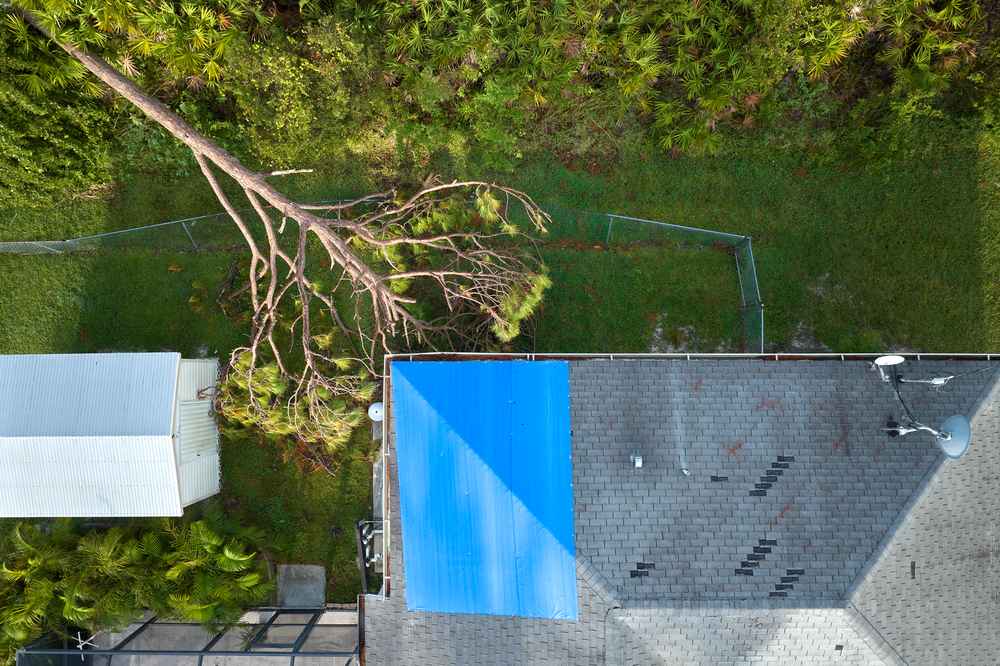
✔ Cover Exposed Areas with a Tarp – Use a waterproof tarp to cover holes in the roof to prevent water damage.
✔ Remove Small Debris Safely – If small branches are scattered, clear them to prevent further damage.
✔ Keep Away from Damaged Areas – Avoid entering rooms where the ceiling is sagging or where structural damage is visible.
If the tree is still unstable or partially resting on your roof, avoid removing it yourself. Professionals should handle tree removal to prevent injuries or further damage.
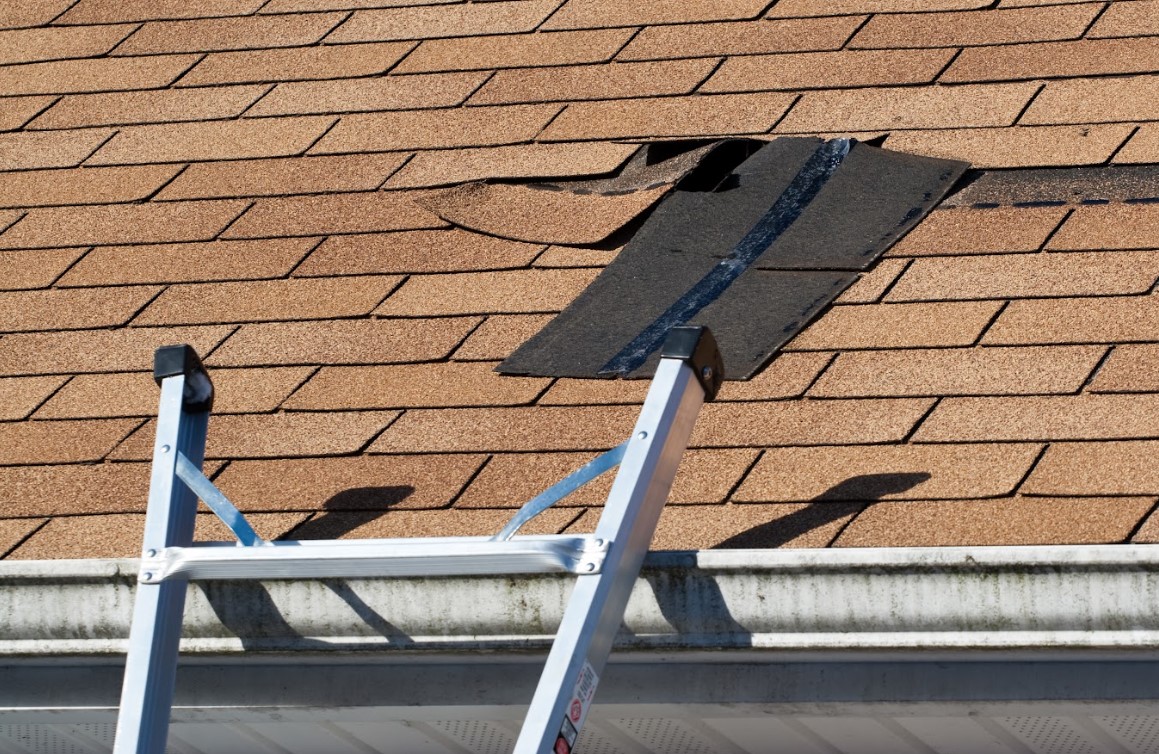
Step 5: Call a Professional Roofing Contractor
After ensuring safety and contacting your insurance company, the next step is hiring a professional roofer to assess the extent of the damage and perform repairs.
What to Expect from a Roofing Inspection:
🔹 Structural Assessment – Checking for weakened areas and hidden damage.
🔹 Leak Detection – Identifying potential water intrusion points.
🔹 Shingle and Gutter Repair – Fixing missing shingles and damaged drainage systems.
JMK Roofing provides emergency roof repair services and works directly with insurance companies to streamline the repair process.
Step 6: Tree Removal and Roof Repairs
If the fallen tree is still on your roof, a professional tree removal service will need to clear it before roof repairs begin.
Tree Removal Process:
- Secure the Area – The removal team ensures the tree is stable before cutting.
- Cut in Sections – Large trees are removed piece by piece to prevent further roof damage.
- Haul Away Debris – The tree is safely removed from your property.
After removal, your roofing contractor will determine whether you need roof repairs or a full replacement based on the extent of the damage.
How to Prevent Trees from Falling on Your Roof
Regular tree maintenance can help reduce the risk of a tree falling on your roof.
Tips to Keep Trees from Becoming a Hazard:
✔ Trim Overhanging Branches – Trees growing close to your home should be pruned regularly.
✔ Check for Dead or Weak Trees – Trees with hollow trunks, leaning growth, or cracked branches are more likely to fall.
✔ Monitor After Storms – High winds can weaken trees; check for signs of instability after severe weather.
If a tree looks unstable, consult an arborist to assess whether it needs to be removed before it becomes a danger.
How Long Does It Take to Repair a Roof After a Tree Falls?
The timeline for repairs depends on the extent of the damage.
Estimated Repair Time:
🕑 Minor Damage (shingle replacement, small leaks): 1-3 days
🕑 Moderate Damage (partial roof repair, small structural issues): 3-7 days
🕑 Severe Damage (full roof replacement, major structural repair): 1-3 weeks
JMK Roofing prioritizes emergency repairs and works efficiently to restore your home as quickly as possible.
Get Emergency Roof Repairs in Lancaster
In Lancaster, MD, dealing with a fallen tree on your roof can be overwhelming, but acting quickly can prevent further damage and costly repairs. If a tree has damaged your roof, JMK Roofing is here to help. Our expert team provides emergency roofing services, insurance claim assistance, and high-quality repairs to restore your home. Don’t wait—get a free estimate now!